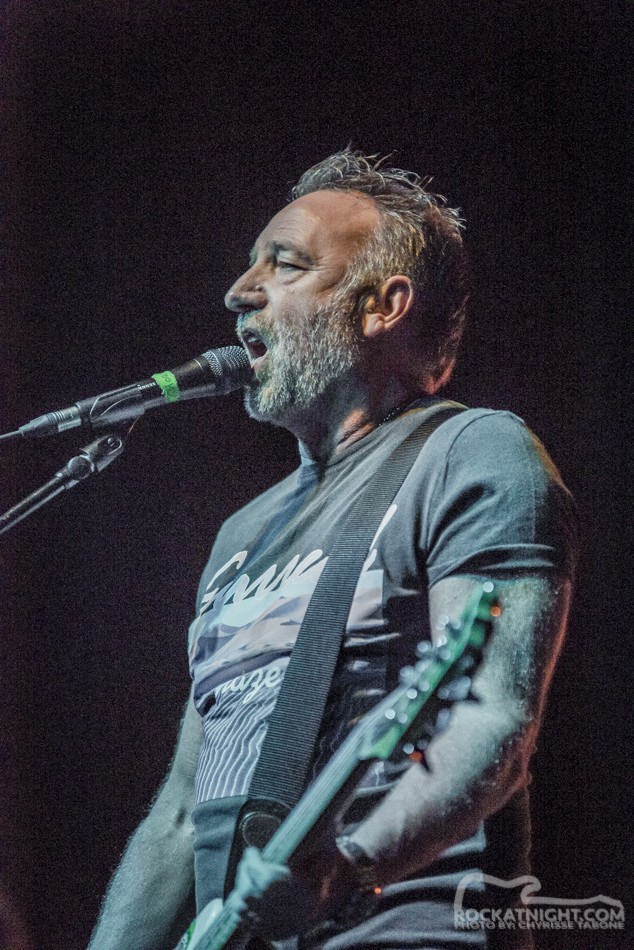
Peter Hook & the Light. Photo by Chyrisse. Peter Hook & the Light Peter Hook & the Light. Photo by Chyrisse.

Be the first to comment